
Designer Changelog Information
Introduction
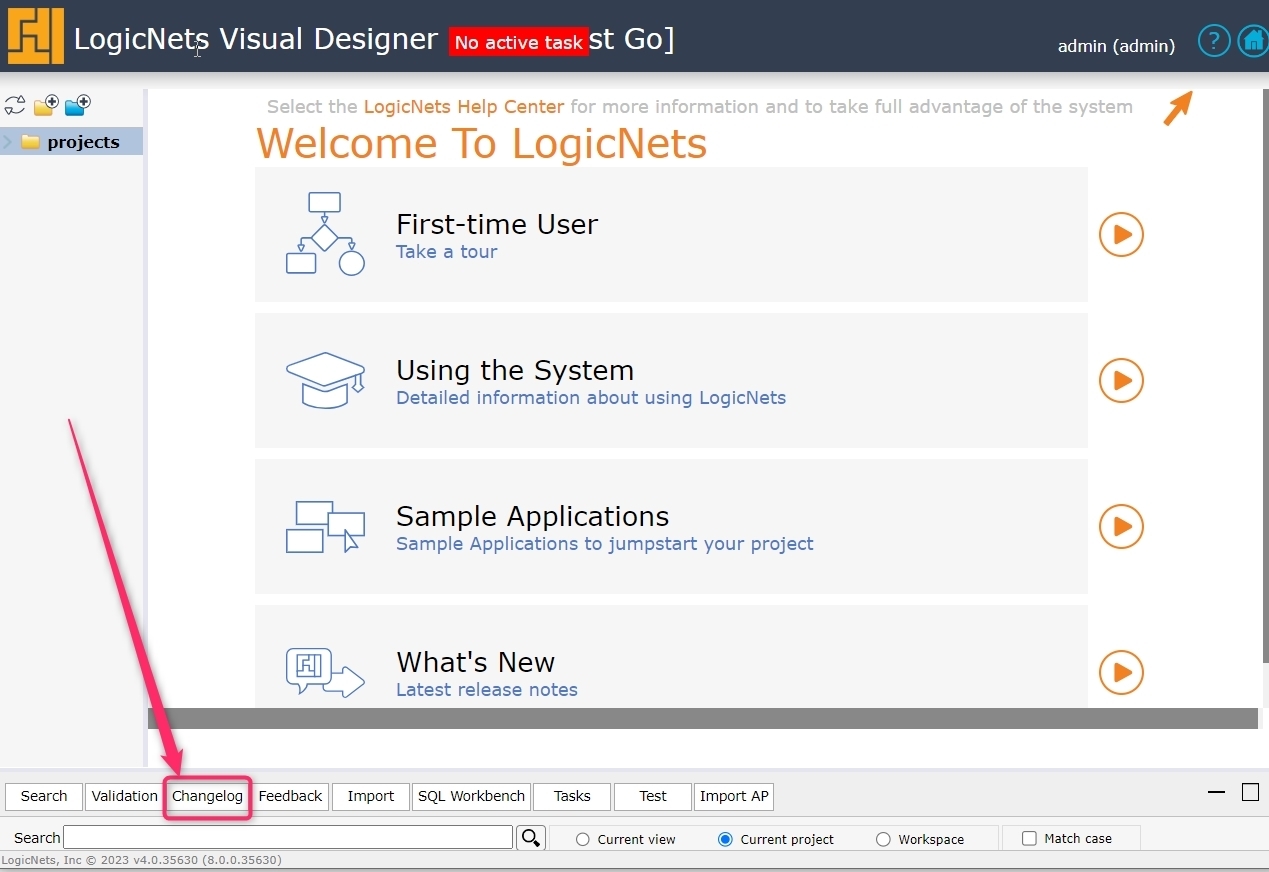
The changelog provides an audit trail of changes made at the project and logicnet level within the Designer. This is a very powerful function, allowing you to see who made changes to which logicnets, and when. In Release 8, LogicNets moved the changelog and related functions from the Project Settings to the bottom bar, next to Search and Validation.
Changelog Screen and Features
The numbers on this changelog screen example relate to the notes below the image:

Screen Navigational Aids
- You can drag the top bar of the Changelog tab to increase/decrease the size of the window.
- Use the collapse/expand buttons to change the overall window size.
- Select the option to view the changelog'
- the current view (the logicnet), or
- the current project or
- the workspace (see below)
- Click the Refresh button to update the table after changing the view.
- Note that the system displays the changelog over multiple pages. Choose the page number directly or specify the number of entries the system should display per page.
Changelog Table Components
The changelog table contains the following data columns:
- Location (path in v8.3 and prior): This shows the source location of the change, either the logicnet or node.
- Type: This describes the nature of the change; for example:
- Project Added
- Logicnet Changed
- Parameter Changed
- Part Added
- Details: This provides a description of the change.
- Revision: This is the unique number the system assigned to the specific logicnet change. The number corresponds with the logicnet changelog number at the bottom of the Designer viewer, along with datetime stamp and the user associated with the change. NOTE: A single logicnet change may generate one or more changelog entries; for example, adding a node to a logicnet creates a single changelog entry and adding a radiolist generates a changelog entry for each added parameter.
- Stamp: This is the local date/time stamp of the change.
- Who: This is the signed-in user who made the change.
- Revert: This indicates if the change can be reverted. A checkmark indicates it can be reverted.
- Task/Summary: These are related to Task Management described in another article.
- Filters: You can use these to display a subset of the changelog.
- Download: You can use this to create a CSV download of the changelog data for additional processing.
Workspace Changelog and Filter

When choosing the Current Workspace option (1) the changelog will include higher level events associated with changes in the Explorer view, including creation, relocation and deletion of projects and folders.
If you want to see the complete changelog history for the entire workspace including all the detailed project-level changes, check the Show project changelog option (2).
Changelog with Version-Controlled Projects
For LogicNets versions 8.3+, the changelog also contains an additional changelog entry when a project is checked out. The position of this entry and the prior checkout entry in the changelog table allows you to quickly identify the changes made between revisions. If there have been many edits, consider downloading the table to Excel to view it in more detail.

If a project is reverted to an earlier version, the system does not display the changelog entries associated with later versions unless the project is migrated back to the latest version. Also, if the project is unlinked from version control, the system creates an additional changelog entry of "Project Unlinked" at that point.
Tips & Tricks
- When you click on a line in the changelog table the system updates the Viewer screen to that logicnet, node, or project.
- Use filters to see the following:
- When a specific user last made a change. Enter the username in the who filter box.
- All changes associated with a specific node. Enter the node number in the path filter box.
- Enter dates in the following format: >YYYY-MM-DD hh:mm:ss, <YYYY-MM-DD hh:mm:ss to search for changes within the specified time window.
- Click a column header to toggle the sorting option from ascending to descending.
- Sort the date/time stamp in descending order to quickly see who made the last change, on what logicnet, and when.
- Download the changelog and import the CSV file into Excel to perform more detailed inspection and analysis.
Additional Information
For information about moving changelog_ctx data to an external database, see Move changelog Data to Enterprise Database with a Cron Job.
Reply
Content aside
- 2 yrs agoLast active
- 63Views
-
2
Following