0
Designer Changelog Information
Introduction
The changelog provides an audit trail of changes made at the project and logicnet level within the Designer. This is a very powerful function, allowing you to see who made changes to which logicnets, and when.
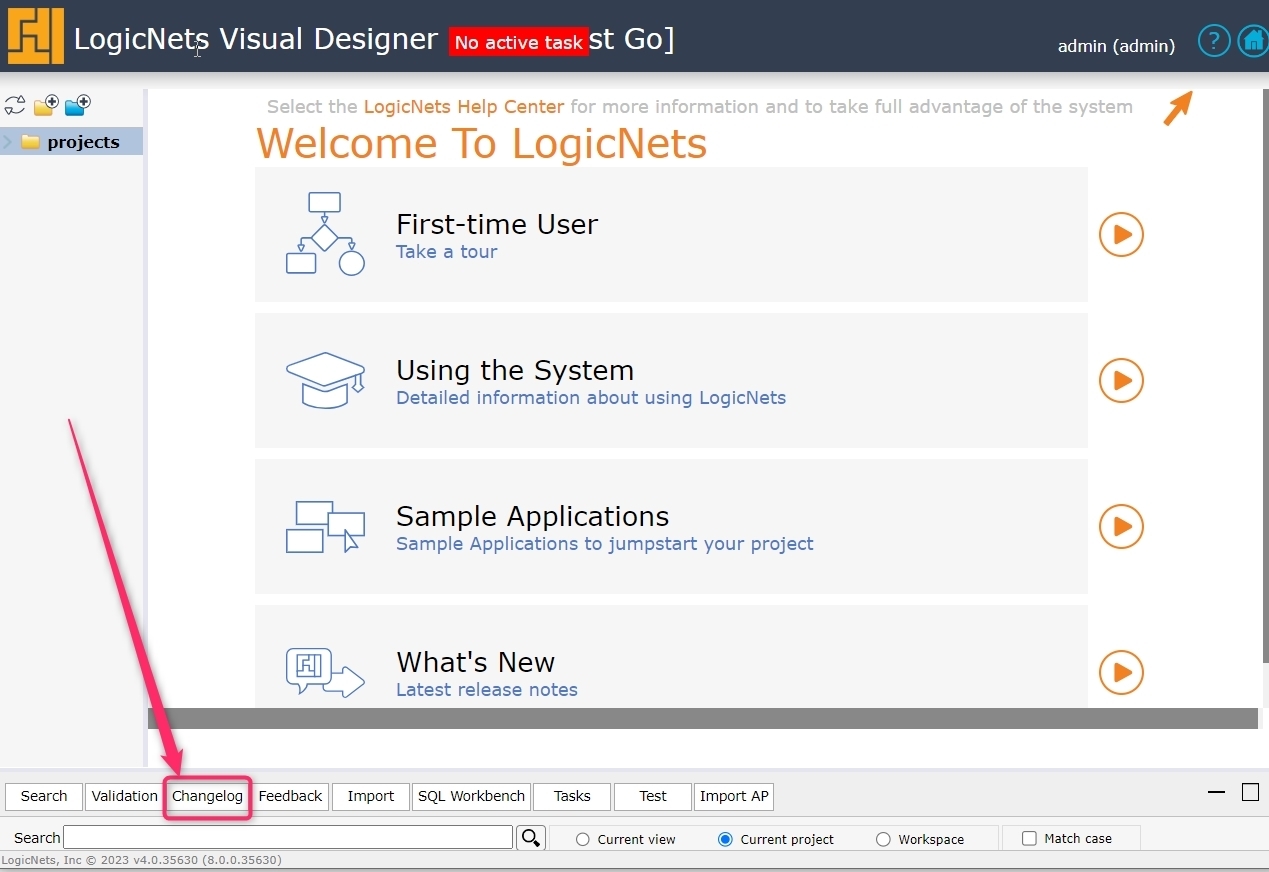
In Release 8 the changelog and related functions was moved from the Project Settings to the bottom bar, alongside search, and validation.
Changelog Screen and Features
The notes below relate to the different numbered areas on the changelog screen example shown below:

Screen Navigational Aids
- The top bar of the Changelog can be dragged to increase/decrease size as required.
- The collapse/expand buttons will impact the overall window size.
- Choose to view the changelog of the current view (logicnet) or the current project.
- Use Refresh button to update table after changing view.
- Note that the system displays the changelog over multiple pages. Choose the page number directly and/or specify the number of entries per page.
Changelog Table Components
The changelog table itself consists of a number of columns of data, as follows:
- Path. This shows the source location of the change (logicnet, node).
- Type. This describes the nature of the change; for example:
- project added
- logicnet changed
- parameter changed
- part added
- Details. This provides a description of the change.
- Revision. This is the unique number the system assigned to the logicnet change (unique per logicnet). It corresponds with the logicnet changelog number seen at the bottom of the Designer viewer, along with datetime stamp and user associated with the change.
NOTE: a single logicnet change may generate one or more changelog entries, e.g.
- adding a node to a logicnet creates a single changelog entry
- adding a radiolist will generate a changelog entry for each parameter (caption, path, options, autosubmit, etc.) - Stamp. This is the local datetime stamp of the change.
- Who. This is the signed-in user who made the change.
- Revert. This indicates if the change can be reverted. A checkmark indicates it can be reverted.
- Task/Summary. These are related to Task Management described in another article.
- Filters. These can be used to show a subset of the changelog.
- Download. This can be used to create a CSV download for additional data processing.
Tips & Tricks
- Clicking on a line in the changelog updates the Designer to that logicnet, node, or project.
- Use the filters to see the following:
- When a specific user last made a change: enter the username in the who filter box
- All changes associated with a specific node: enter the node number in the path filter box
- Click a column header to toggle the sorting option from ascending to descending.
- Sort the datetime stamp in descending order to quickly see who made the last change, on what logicnet, and when.
Additional Information
For information about moving changelog_ctx data to an external database, see Move changelog Data to Enterprise Database with a Cron Job.
Like
Follow
Reply