
Designer Profiles
Introduction
The Designer Profiles feature allows you to set a profile and simplify the Designer.
- You can create a profile for those users new to LogicNets, and the profile can filter out advanced options and simplify screens.
- You can create a profile for those who work with a specific framework or use case and filter out configuration options that they do not need.
- You can create a profile for users with a specific role in the Designer and can limit what they see on the screen to make their work easier and more efficient.
For all profiles, a user can still change their access from within the Designer to All Access if they need to access a new feature, try out a different feature, or make a change they would not normally make in their regular role.
The Designer Profile is largely confined to hiding or showing configuration items in the panel on the right side of the Designer screen. THis includes input boxes for a form part (display object for a radiolist), part editor tabs like the Advanced tab, and process menu items such as get value from global context in the data objects menu. You can use the Designer Profile feature to hide unwanted nodes from the Toolbox.
Note that the Nodes Toolbox has its own settings at the project/framework level. It is possible to add custom nodes and/or remove standard nodes from here. Talk to your LogicNets Project Manager for more information about this and see this article.
How to Use a Designer Profile
When a user opens Designer landing page, the system displays a dropdown menu containing a list of profile names for selection. Users can use this menu at any point during their session, changing it to All Access or a different profile.

How to Create/Edit a Designer Profile
You can create or edit a Designer Profile as a JSON file and and store it in the Designer tab of the System Configuration package. Be aware that access to the System Configuration package is normally reserved for Admin users.
To create a specific user profile, do the following:
- Start with the example profile attached to this article or download an existing profile from the System Configuration Designer tab.
- Using a text editor like Notepad outside of LogicNets, edit the profile by hiding or showing different configuration items or process parts. The format required to exclude a line depends on the part, but you can use the type and name fields. The mode should be hide and you can specify the part limit filtering to a single part when the parameter appears on multiple parts; for example, you can filter out the caption input field for a dropdown menu but leave it in place for a radio button or checklist.
{ type = "parameter", part = nil, name = "short_caption", mode = "hide" }, { type = "parameter", part = nil, name = "choices[].speech_command", mode = "hide" }, { type = "tab", part = nil, name = "Advanced", mode = "hide" }, { type = "part", name = "base64", mode = "hide" },- To show an item, you can delete the relevant line, or perhaps better is to just change the mode to "show" instead
- For help on a configuration item not included in the attached sample profile, contact your LogicNets Account Manager for more information.
- Note that some part configuration items cannot be hidden because of the custom nature of the part editor design.
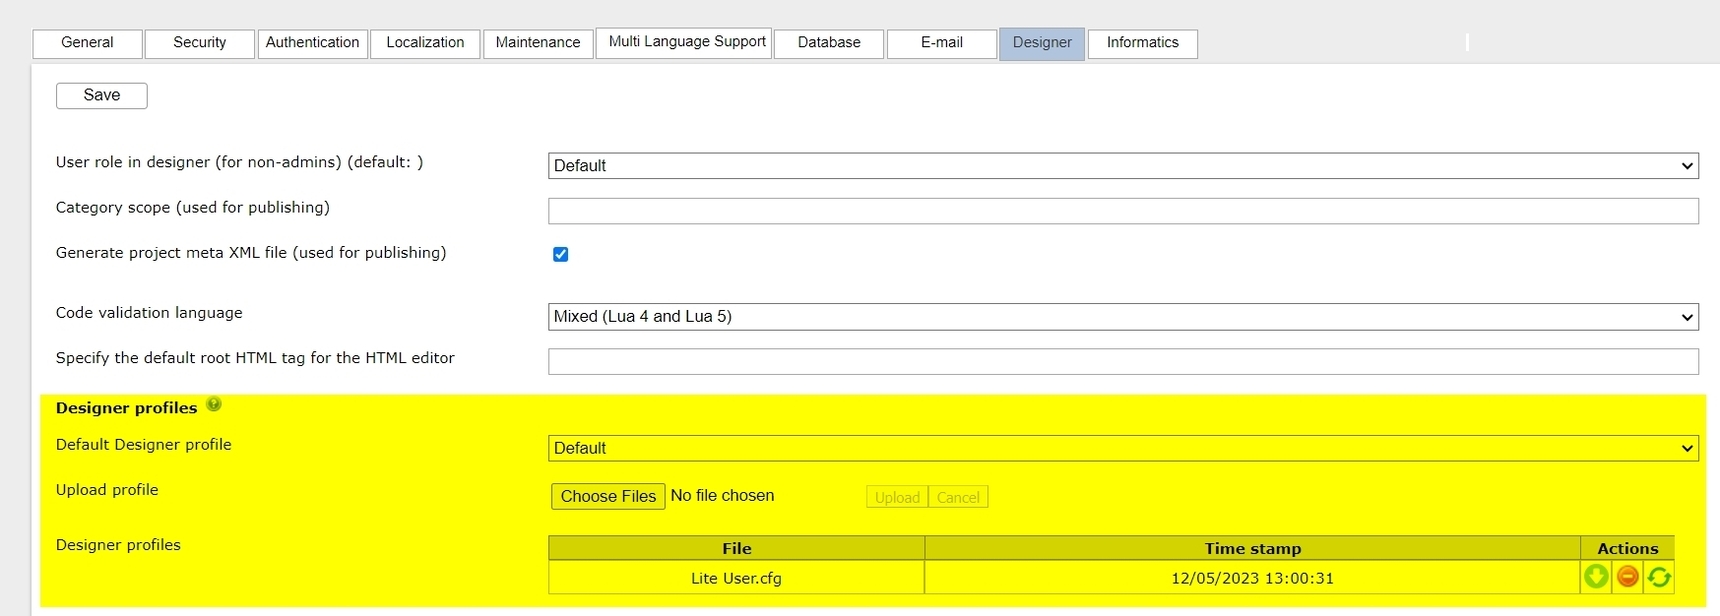
- Save the file locally, using the profile name as the name of the file. Upload the profile by clicking on the Choose Files option in the Designer profiles section of the Designer tab in the System Configuration function.
If you make changes to the cfg file, delete the existing one and reload the updated file. - Using the browse option, select the file from your local drive and click upload to add the file containing the profile. This adds the profile to the list of available profiles.
- Set the default profile on launch.
- In case of error or future changes, action buttons on the file table allow you to download and/or delete any profile.

Example Lite User Profile
As an example, the Lite User profile attached to this article has been created for use by first-time LogicNets Designer users. It removes the more advanced features available on the radio button, checklist, and dropdown menu form parts.
In the images below, the left image shows what the user with the Lite User profile sees and the right image shows what a user with the Full Access profile sees for a radiolist.


Reply
Content aside
- 2 yrs agoLast active
- 66Views
-
2
Following